Integrate Epic Hyperdrive
Epic Hyperdrive is a web-based application for healthcare providers and administrators using the Epic system. See https://open.epic.com/Hyperdrive/Hyperdrive. This Technical Integration Guide describes how to integrate Entrust IDaaS multi-factor authentication (MFA) with EPIC Hyperdrive. Entrust Identity Epic Plug-in 2.0 uses the pluggable multi-factor authentication (MFA) option of Epic to integrate Identity as a Service MFA with Epic. Once integrated with Identity as a Service, users can use single sign-on to log in to their Epic Hyperdrive account through Identity as a Service.
Note: This integration was tested using Identity as a Service version 5.31 and Epic Hyperdrive. In the event of integration issues, contact support@entrust.com for assistance.
Prerequisites
Before you begin, you need the following:
An Epic Hyperdrive account
Your IDaaS tenant URL
An IDaaS administrator account with permission to add applications to IDaaS
To integrate Epic Hyperdrive with Identity as a Service, you must do the following:
Step 1: Copy the SAML configurations from Identity as a ServiceStep 1: Copy the SAML configurations from Identity as a Service
Copy the SAML Configuration from Identity as a Service
Log into your Identity as a Service administrator account.
Click ![]() > Security > Applications. The Applications Lists page appears.
> Security > Applications. The Applications Lists page appears.
Under SAML Cloud Integrations, click SAML Configuration. The SAML Configuration dialog box appears.
This dialog box contains information you need to configure your SAML application for Identity as a Service authentication.
Do one of the following:
Leave this dialog box open to reference later in this procedure.
Copy the Entity ID, Single Sign-on URL, and Single Logout URL to a text file and save it to reference later in this procedure.
Note: Depending on the integration you are performing, you may not need all three of these SAML configuration values.
Note: Epic requires the Entity ID and Single-sign on URL.
Step 2: Copy the SAML signing certificate from Identity as a ServiceStep 2: Copy the SAML signing certificate from Identity as a Service
Copy a SAML signing certificate
Log in to your Identity as a Service administrator account.
Click ![]() > Security > Applications. The Applications List page appears.
> Security > Applications. The Applications List page appears.
Under SAML Cloud Integrations, click SAML Signing Certificates. The SAML Signing Certificates page appears.
Click ![]() next to the certificate to copy it to the clipboard.
next to the certificate to copy it to the clipboard.
You can additionally download the certificate and save it for future use.
Open a text editor, such as Notepad, and paste the contents of the certificate into the text file.
Save the file.
Note: Be sure to save the file with the .cer extension, for example, SAML_certifcate.cer.
Step 3: Contact Epic to provide the required informationStep 3: Contact Epic to provide the required information
Epic needs to configure Epic Hyperdrive for Identity as a Service authentication. You must provide Epic with the following for them to configure in Epic Hyperdrive:
Entity ID and Single Sign-on URL that you copied in Step 1: Copy the SAML configurations from Identity as a Service.
The SAML signing certificate that you copied in Step 2: Copy the SAML signing certification from Identity as a Service.
Step 4: Install the Entrust Identity Epic Plug-in 2.0Step 4: Install the Entrust Identity Epic Plug-in 2.0
Prerequisites
Before you begin the installation, ensure that you have met the following prerequisites:
Ensure that the .NET Framework v4.8xx is installed.
Ensure
that web view2 runtime-Evergreen
Standalone is installed.
https://developer.microsoft.com/microsoft-edge/webview2#download-section
Install the Entrust Identity Epic Identity Plug-in 2.0
Download the Entrust Identity Epic Plug-in 2.0 software from Entrust TrustedCare.
Copy the software to your computer.
Double-click the Entrust Identity EPIC 2.0.msi installer file. The Entrust Identity Epic 2.0 Setup Wizard appears.
Click Next to continue. The License Agreement page appears.
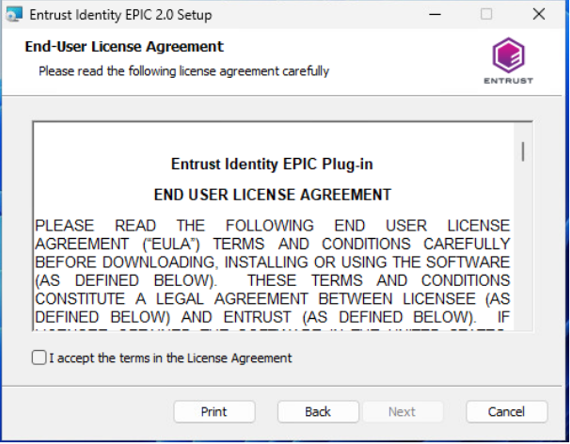
Read the license agreement for Entrust Identity software carefully, and select I accept the terms in the License Agreement.
Click Next. The Destination Folder page appears.
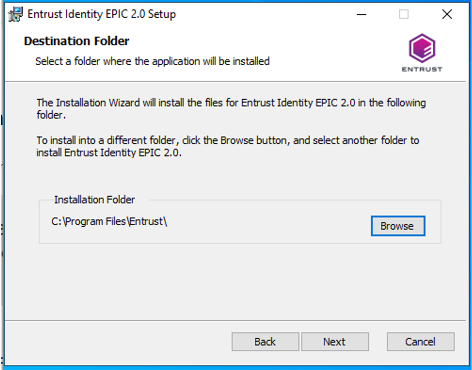
Select the folder where you want to install the application, and then click Next. The IDaaS Tenant page appears.
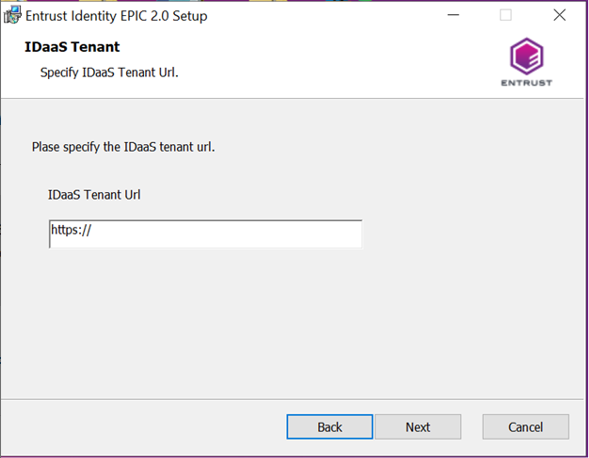
Enter the Entrust Identity as a Service URL (IDaaS URL).
Example: https://<my_tenant>.<my_locale>.trustedauth.com
Click Next. The Ready to Install Entrust Identity EPIC 2.0 page appears.
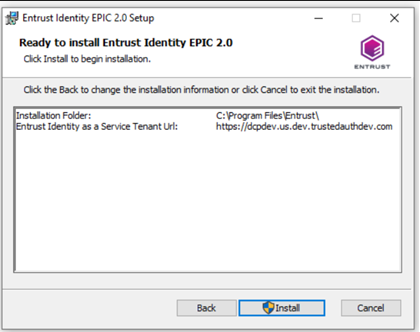
Click Install to start the installation. The Completed Entrust Identity Epic 2.0 Setup Wizard page appears.
Click Finish to exit the Setup Wizard.
Change the logging levels
After installing the Entrust Identity Epic Plug-in 2.0, you can change the logging level. Entrust Identity Epic Plug-in 2.0 log files are located at
C:\Program Files\Entrust\IdentityEpicLoginDevice\log
The default logging level is INFO.
The other possible values are the following:
OFF
FATAL
ERROR
WARN
INFO
DEBUG
ALL
These levels show increasing amounts of information. You can change the logging level in the Entrust Identity Epic Plug-in 2.0 configuration file.
Change the Entrust Identity Epic Plug-in 2.0 logging level
Open the C:\Program Files\Entrust\IdentityEPICLoginDevice\config\epicplugin.xml file either manually or using a text editor.
Find the Logging element and the level child element.
Change the value attribute to the level you want. The default is INFO. For example:
<level value="DEBUG" />
Save and close epicplugin.xml file.
Note: The DEBUG and TRACE log levels generate a lot of logs. When you have finished troubleshooting, set the logging level back to INFO to avoid slowing down your system.
Step 5: Add Epic Hyperdrive to Identity as a ServiceStep 5: Add Epic Hyperdrive to Identity as a Service
In Identity as a Service, click ![]() > Security > Applications. The Applications Lists page appears.
> Security > Applications. The Applications Lists page appears.
Click Add. The Select an Application Template page appears.
Do one of the following:
Select SAML Cloud Integrations from the search drop-down list and scroll to find the application you want to add to IDaaS.
- or -
In the Search bar, enter a search option to filter for the application you want to add to IDaaS.
Click Epic Hyperdrive. The Add Epic Hyperdrive page appears.
Enter an Application Name.
Enter an Application Description.
Optional. Add a custom application logo.
Click ![]() next to Application Logo. The Upload Logo dialog box appears.
next to Application Logo. The Upload Logo dialog box appears.
Click ![]() to select an image file to upload.
to select an image file to upload.
Browse to select your file and click Open. The Upload Logo dialog box reappears showing your selected image.
If required, resize your image.
Click OK.
Select the Authentication Flow that appears to users during login.
Click Next. The General page appears.
Enter the SAML Session Timeout to the time when the SAML Assertion times out. The maximum is 720 minutes.
Enter the Max Authentication Age (seconds) to set the maximum amount of time that can elapse before a user is required to reauthenticate during a new login attempt. This applies for both SP-initiated and IDP-initiated login. Set this field to -1 to disable this feature.
Select the SAML Signing Certificate from the drop-down list.
Optional: Select Respond Immediately for Unsuccessful Responses to return to the application immediately after a login failure, rather than allow user to try again with a different userID.
Deselect Enable Go Back Button if you do not want users to be able to go back to the Epic Hyperdrive login page to log in.
The SAML Audience settings are populated in the template. Maintain the default settings.
Note: The SAML Audience value and the userID are provided by Epic during an authentication request. After successful second factor authentication, the SAML Assertion is sent back to Epic for the requested user and supplied audience.
Leave the remaining settings at the default values.
Click Submit.
Step 6: Add a resource ruleStep 6: Add a resource rule
Step 7: Test the integrationStep 7: Test the integration
Testing Service Provider Login
Open a Web browser and enter the URL for your Epic Hyperdrive account.
Click Log in. You are redirected to Identity as a Service.
Log in to IDaaS.
Respond to the second-factor authentication challenge. If you respond successfully, you are logged in to Epic Hyperdrive.