Create the PIV - Content Signer (device) certificate template
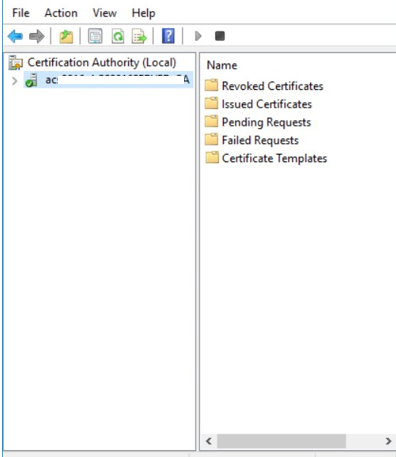
On the Microsoft CA machine, go to Tools and select Certification Authority.
Click your Certificate Authority to expand the root folder.
To set the user permissions, right-click Certificate Templates, and then select Manage. The Certificate Templates Console appears.
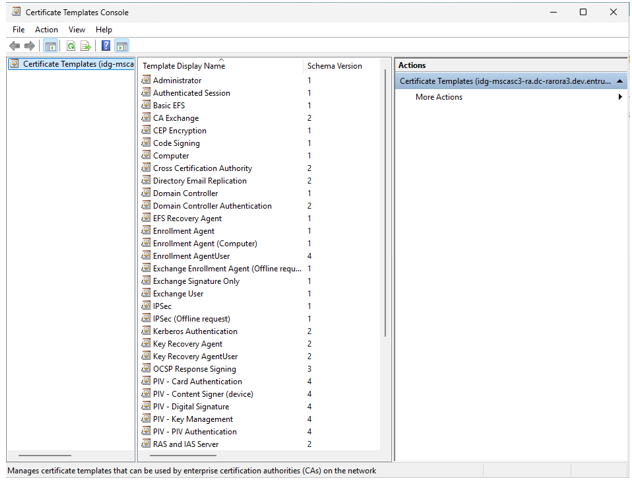
Scroll the template list, right-click the PIV - PIV Authentication template and select Duplicate Template. The Properties of New Template dialog box appears.
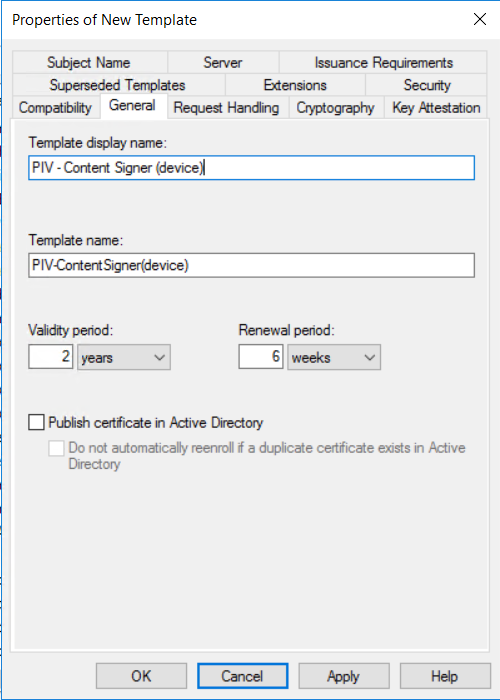
Click the General tab, and configure the following settings:
In the Template display name field, enter PIV - Content Signer (device). The Template name field is filled in automatically with the template display name (with no spaces).
Deselect Publish certificate in Active Directory.
Click the Request Handling tab, and do the following:

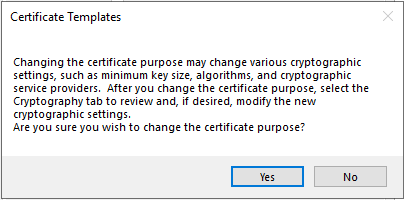
From the Purpose drop-down list, select Signature.
When asked to confirm the change, click Yes.
Select Allow Private Key to be exported.
Select Enroll subject without requiring any user input under "Do the following when the subject is enrolled and when the private key associated with this certificate is used."
Click the Issuance Requirements tab, and do the following:
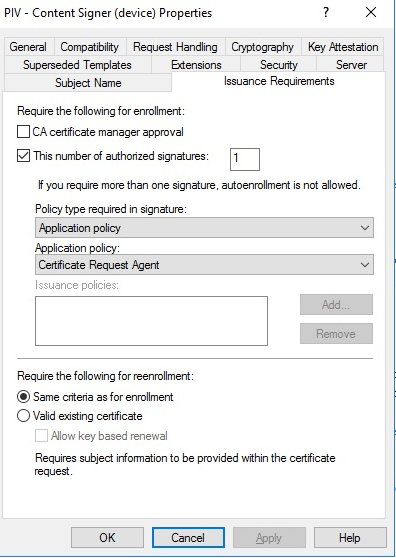
Select This is the number of authorized signatures and enter 1 in the text box.
From the Policy Type required signature drop-down list, select Application policy.
From the Application Policy drop-down list, select Certificate Request Agent.
Click the Subject Name tab, and do the following:
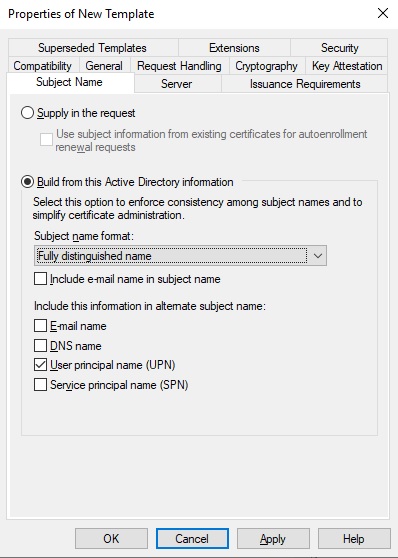
Select Build from this Active Directory information.
Select Fully Distinguished Name from the Subject name format drop-down list.
Select the User principal name (UPN) check box.
Click the Extensions tab and do the following:
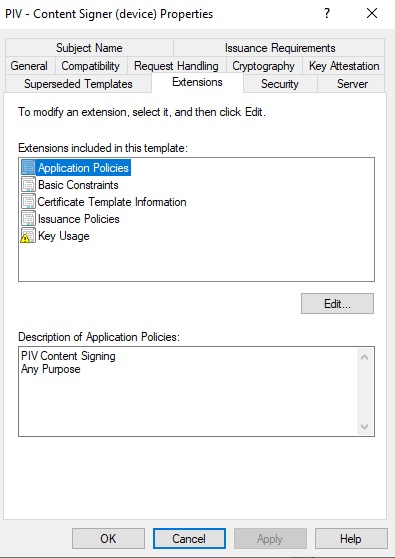
Select Application Policies, and then click Edit. The Edit Application Policies Extension dialog box appears.
Add the PIV Content Signing object identifier (PID) as follows:
- On the Edit Application Policies Extension dialog box, click Add. The Add Application Policy dialog box appears.
- Click New. The New Application Policy dialog box appears.
- In the Name field, enter PIV Content Signing.
- In the Object Identifier field, enter 2.16.840.1.101.3.6.7
- Click OK.
- Click OK again to return to the Edit Application Policies Extension dialog box.
On the Edit Application Policies Extension dialog box, remove the application policies that are not required.
- Select Client Authentication and click Remove.
- Select Smart Card Logon and click Remove.
- Click OK to close the dialog box.
Select Issuance Policies and then click Edit. The Edit Issuance Policies dialog box appears.
- On the Edit Issuance Policies dialog box, select id-fpki-common-authentication and then click Remove.
- Click OK to close the dialog box.
Click the Security tab and under Permissions for Authenticated Users reduce the permissions to no more than Read.
Add the <domain_user> and select Read and Enroll.
Review the permissions for other users and groups in the list to make sure they follow your corporate access policy.
Click OK to close the Properties dialog box. The PIV - PIV Content Signer certificate template is added to the list of templates.