Configure Microsoft CA Proxy
Complete the following to configure the Microsoft CA Proxy:
Step 1: Create a client authentication template for Microsoft CAStep 1: Create a client authentication template for Microsoft CA
On the Microsoft CA machine, go to Start > Windows Administrative Tools > Certification Authority.
Click your Certificate Authority to expand the root folder.
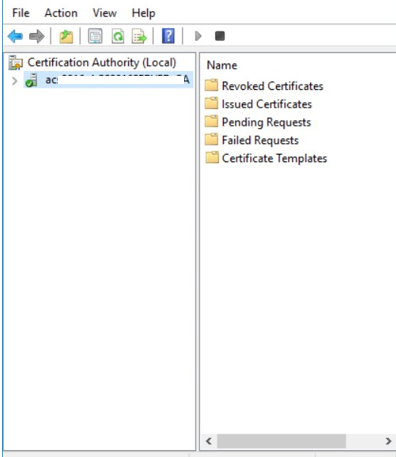
Right-click Certificate Templates, and then select Manage. The Certificate Templates Console appears.
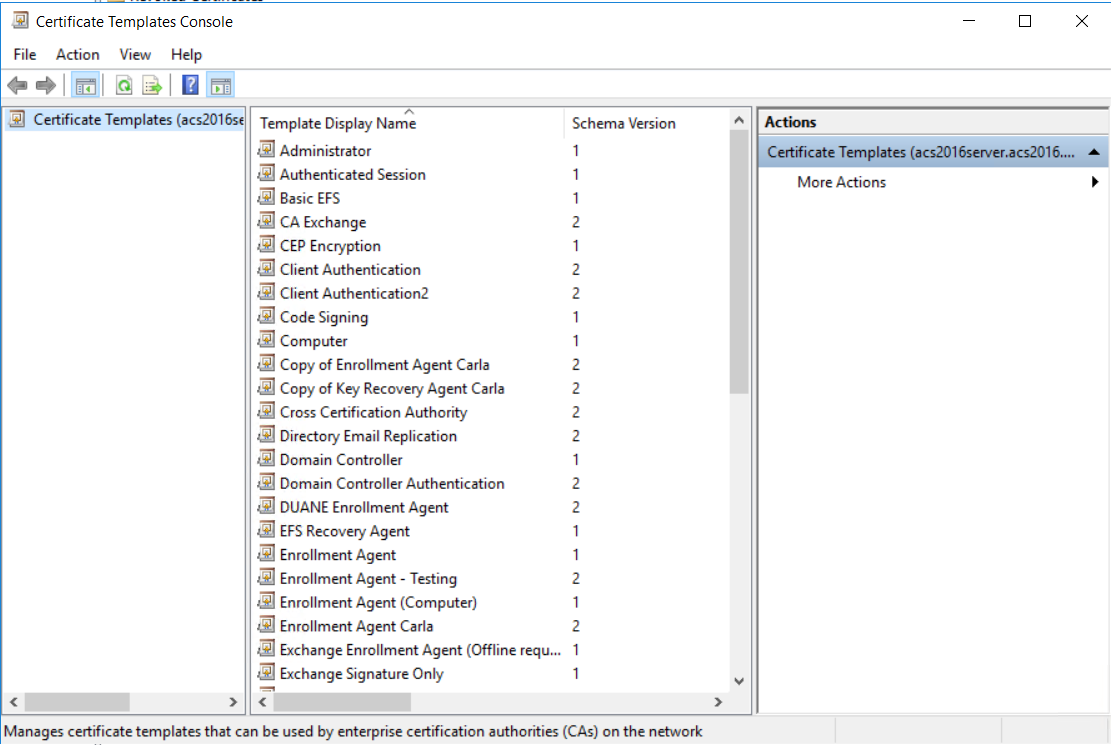
Scroll the template list, right-click the User template and select Duplicate Template. The Properties of New Template dialog box appears.

Click the Security tab and under Permissions for Authenticated Users reduce the permissions to no more than Read.
Add the <domain_user> and select Read and Enroll.
For all other users and groups, review the permissions and ensure that they have the desired corporate access policy.
In the Compatibility Settings, select the following:
From the Certificate Authority drop-down list, select
Windows Server 2012R2 if you are running on a 2012R2 server
-or-
Windows Server 2016 if you are running on Windows Server 2016 or later
From the Certificate Recipient drop-down list, select
Windows 8.1/Windows Server 2012R2 if you are running on a 2012R2 server
-or-
Windows 10/Windows Server 2016 if you are running on Windows Server 2016 or later
Optional. If the Show resulting changes check box is selected, a message lists the options that will be added with your choice. Click OK to close the message.
Click the General tab.
In the Template display name field, enter Client Authentication.
Review the Validity Period. Extend it if necessary.
Click the Subject Name tab.
Select Supply in the request radio button and click OK on the warning dialog box.
Click the Extensions tab.
Select Applications Policies and click Edit. The Edit Application Policies Extension dialog box appears.
Select and remove Encrypting File System and Secure Email and then click OK.
Click OK to close the Properties of Template dialog box.
Return to the Certification Authority.
Click to expand your certification authority root folder.
Right-click Certificate Templates and select New > Certificate Template to Issue. The Enable Certificate Templates dialog box appears.
Select Client Authentication and click OK.
Step 2: Generate the Microsoft CA Proxy Server truststoreStep 2: Generate the Microsoft CA Proxy Server truststore
Generate the Microsoft CA Proxy Server truststore
On the Microsoft CA Proxy Server machine, create an SSL directory under MS CA Proxy installation (for example, c:\mscaproxy\ssl).
Open a command prompt.
Run the following commands where
truststorepwd = The trust store password
ca_host = CA host name
ca_name = CA name. You can find the CA name at Certification Authority > Properties > General > Name.
certutil -config <ca_host>\<ca_name> -ca.cert caroot.cer
In this directory, run the following command to include the root CA certificate (for example, caroot.cer)
keytool -import -noprompt -alias caroot -file caroot.cer -keystore truststore.jks -storepass <truststorepwd>
If your CA has intermediate CA certificates, obtain these certificates from your CA then run the following command for each of them to import the corresponding issuing certificate (for example, ca-issuing.cer).”
keytool -import -noprompt -alias ca-issuing -file ca-issuing.cer -keystore truststore.jks -storepass <truststorepwd>
Step 3: Configure SSL for the Microsoft CA Proxy ServerStep 3: Configure SSL for the Microsoft CA Proxy Server
To configure SSL for the Microsoft CA Proxy Server, you need to generate a mscaproxy.jks keystore containing the following:
The Microsoft CA Proxy private key for SSL server authentication
The key's certificate
The certificate chain
The Microsoft CA Proxy certificate
Generate a Server JKS
On the Microsoft CA Proxy Server machine, go the SSL directory under the Microsoft CA proxy directory (c:\mscaproxy\ssl).
Open a command prompt.
Run the following commands where
keypwd = private key password
keystorepwd = JKS password
ca_proxy_fqdn = Microsoft CA proxy server fully qualified domain name.
ca_host = CA host name
ca_name = CA name. You can find the CA name at Certification Authority > Properties > General > Name.
keytool -genkey -noprompt -alias mscaproxy -dname "cn=<ca_proxy_fqdn>" -keyalg RSA -keysize 2048 -keystore mscaproxy.jks -storepass <keystorepwd>
keytool -certreq -alias mscaproxy -ext SAN=dns:"<ca_proxy_fqdn>" -file mscaproxy.csr -keystore mscaproxy.jks -storepass <keystorepwd>
certreq.exe -f -attrib "CertificateTemplate:WebServer" -config "<ca_host>\<ca_name>" mscaproxy.csr CertChainFileOut mscaproxy.p7b
keytool -import -noprompt -alias mscaproxy -file mscaproxy.p7b -keystore mscaproxy.jks -storepass <keystorepwd>
keytool -export -noprompt -alias mscaproxy -file mscaproxyserver.cer -keystore mscaproxy.jks -storepass <keystorepwd>
Note: You need the generated mscaproxyserver.cer file located in the ssl directory when you Configure a Microsoft CA in Identity as a Service.
Step 4: Generate a Client PKCS12 for Identity as a ServiceStep 4: Generate a Client PKCS12 for Identity as a Service
To generate a client PKCS12, you need to generate a mscaproxyclient.pfx keystore containing the following:
The CA Gateway's private key for client authentication
The key's certificate
The certificate chain
Generate a client PKCS12
On the Microsoft CA Proxy Server machine, create a client directory under the Microsoft CA proxy directory (c:\mscaproxy\client).
Open a command prompt.
Run the following commands where
keystorepwd = the PKCS12 password
ca_host = CA host name
ca_name = CA name. You can find the CA name at Certification Authority > Properties > General > Name.
keytool -genkey -noprompt -alias mscaproxyclient -dname "cn=mscaproxy client" -keyalg RSA -keysize 2048 -keystore mscaproxyclient.pfx -storetype PKCS12 -storepass <keystorepwd>
keytool -certreq -alias mscaproxyclient -file mscaproxyclient.csr -keystore mscaproxyclient.pfx -storepass <keystorepwd>
certreq.exe -f -attrib "CertificateTemplate:ClientAuthentication" -config "<ca_host>\<ca_name>" mscaproxyclient.csr CertChainFileOut mscaproxyclient.p7b
keytool -import -noprompt -alias mscaproxyclient -file mscaproxyclient.p7b -keystore mscaproxyclient.pfx -storepass <keystorepwd>
Note: You need the generated mscaproxyclient.pfx file located in the client directory when you Configure a Microsoft CA in Identity as a Service.
Step 5: Edit the application.yml file and the keystore and truststore passwordsStep 5: Edit the application.yml file and the keystore and truststore passwords
On the Microsoft CA Proxy Server machine, go to <msca_install>/config and open application.yml with a text editor.
Uncomment all lines in the file by removing the #.
Save and close the file.
Go to <msca_install>/config and open key-store-password.scrt with a text editor.
Set decrypted=<keystorepwd> where <keystorepwd> is the password of the JKS file you created in the section, "Configure SSL for the Microsoft CA Proxy Server."
Save and close the file.
Go to <msca_install>/config and open trust-store-password.scrt with a text editor.
Set decrypted=<truststorepwd> where <truststorepwd> is the password of the JKS file you created in the Step 2:, "Generate the Microsoft CA Proxy Server truststore."
Save and close the file.
Step 6: Manage the Microsoft CA ProxyStep 6: Manage the Microsoft CA Proxy
As administrator, use the following commands to manage the Microsoft CA Proxy Server machine:
MSCAProxy start
MSCAProxy stop
MSCAProxy uninstall
MSCAProxy restart
You can also check to see whether the Microsoft CA Proxy is running.
Check to see if the Microsoft CA Proxy is running
Open Chrome.
Start the Microsoft CA Proxy as follows:
From a command prompt, enter
C:\>cd mscaproxy
C:\mscaproxy>MSCAProxy.exe start
Import into Chrome the mscaproxyclient.pfx file you created in Step 4: Generate a Client PKCS12 for Identity as a Service.
Go to:https://proxyserver:8443/MSCAProxy/rest/status/ping, where proxyserver is the hostname of your Microsoft CA Proxy Server.
Check the server response for the following message to confirm that the Microsoft CA Proxy is running:
"MS CA proxy is running"