Creating an OIDC Application
Follow these steps to create an OpenID Connect integration in your IDaaS account.
-
Navigate to the Applications page.
-
Create a new application by clicking the + button on the top left.
-
Click on the dropdown on the right and select OpenID Connect and OAuth Cloud Integrations or search for SPA. Select Generic SPA Application.
-
On the General tab, use the default settings unless mentioned below:
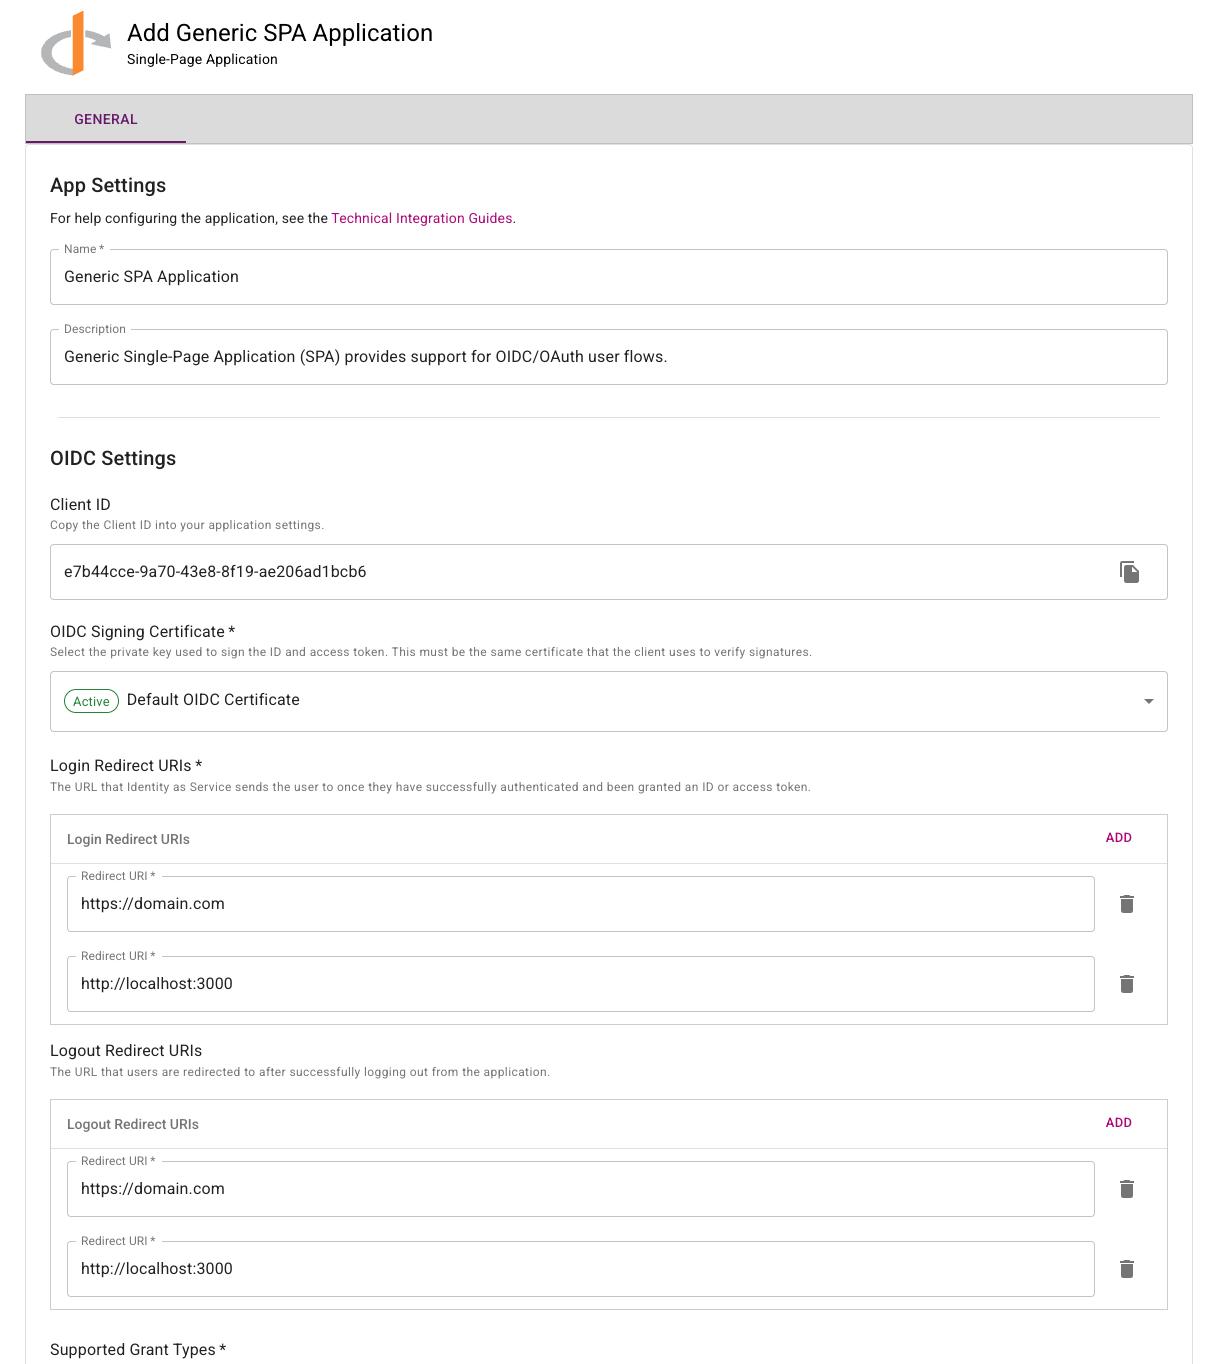
- Copy the Client ID. You will need this later.
- Set the Subject ID Attribute to the attribute that will be used to uniquely identify each user.
- Add the allowed Login Redirect URI(s) you want your application to route to after login.
- Add the allowed Logout Redirect URI(s) you want your application to route to after logout. This is optional.
tipYou may want to add
localhostduring testing and development in order to test your OIDC configuration. Remember to remove this value when going to production!- For Grant Types Supported, check Authorization Code. If you plan on using Refresh Tokens check Refresh Token (OIDC).
- Under Supported Scopes you may select the scopes that will be requested during authentication.
- Click Save.
-
On the Claims tab, you may configure the claims that will be returned in the Access and/or ID Tokens. This includes claims implied by the selected scopes.
-
On the Resource Rules tab, click the Add Resource Rule button.
-
You will be redirected to Add Resource Rules. Here you can set a name and description.
-
Configure the Authentication Flow you want your users to use when logging in to your application. Click Save. At this point you will have completed all the configuration needed in IDaaS. You are now ready to move on to Protecting your Single Page Application.
If you plan on requesting access tokens for specific audiences, i.e., resource servers, see Configuring Resource Audience.