Create a Microsoft CA Key Recovery Agent
You need a Key Recovery agent to perform a key recovery operation.
Note: Changes to the Microsoft CA CRL information (for example, enabling/disabling HTTP or LDAP Certificate Revocation List (CRL) distribution points) can result in the Key Recovery Agent becoming invalid. When this happens encoding will fail. When you make Microsoft CA CRL configuration changes you need to ensure that you publish the new CRL to your LDAP or HTTP distribution points.
Create a key recovery agent PKCS12 store
On the Microsoft CA machine, go to Start > Windows Administrative Tools > Certification Authority.
Click your certification authority to expand the root folder.
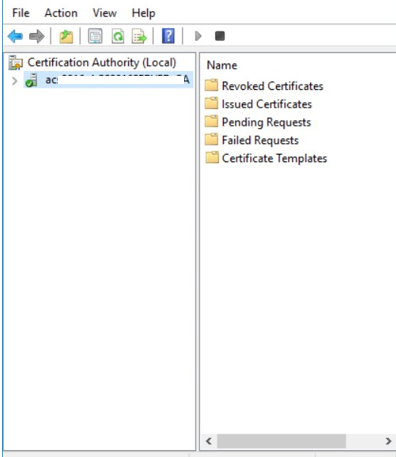
Right-click Certificate Templates, and then select Manage. The Certificate Templates Console appears.
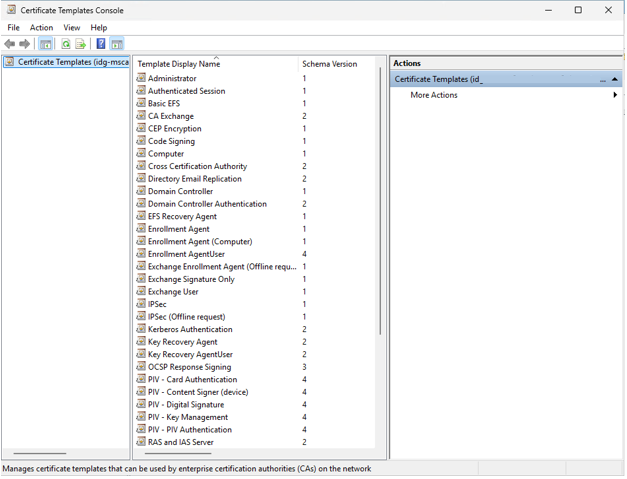
Right-click the Key Recovery Agent and select Duplicate Template. The Properties of New Template dialog box appears.

In the Compatibility Settings, select the following:
From the Certificate Authority drop-down list, select
Windows Server 2012R2 if you are running on a 2012R2 server
-or-
Windows Server 2016 if you are running on Windows Server 2016 or later
From the Certificate Recipient drop-down list, select
Windows 8.1/Windows Server 2012R2 if you are running on a 2012R2 server
-or-
Windows 10/Windows Server 2016 if you are running on Windows Server 2016 or later
(Optional) If the Show resulting changes check box is selected, a message lists options added with your choice. Click OK to dismiss the message.
Click the General tab and enter a name in the Template display name field.
Click the Request Handling tab and select Allow private key to be exported.
Click the Issuance Requirements tab and do the following:
Do not select CA certificate manager approval.
Select The number of authorized signatures and enter 1 in the text box.
From the Policy type required in signature drop-down list, select Application policy.
From the Application policy drop-down list, select Certificate Request Agent.
Click the Security tab and under Permissions for Authenticated Users reduce the permissions to no more than Read.
Add the <domain_user> and select Read and Enroll.
Review the permissions for other users and groups in the list to make sure they follow your corporate access policy.
Click OK.
Go to Certification Authority, right-click Certificate Templates and select New > Certificate Template to Issue.
Select the Key Recovery template you just created and click OK.
Create a new user in Active Directory, as follows:
Go to Start > Windows Administrative Tools > Active Directory Users and Computers. The Active Directory Users and Computers page appears.
Right-click Users and select New > User. The New Object > User dialog box appears.
Enter a First name, Last name, and User logon name and then click Next.
Deselect User must change password at next logon.
Enter and confirm a password.
Click Next and then click Finish.
Open the Microsoft Management Console to add certificates snap-in, as follows:
To open the Microsoft Management Console, right-click the Start menu, click Run, enter mmc in the Open field,and click OK.
Go to File > Add/Remove Snap In.
Click Certificates and select Add. The Certificate snap-in dialog box appears.
Select My user account.
Click Finish and click OK.
Click Certificates > Current User.
Right-click Personal and select All Tasks > Advanced Operations > Enroll on Behalf Of. The Certificate Enrollment Wizard opens.
Click Next. The Select Certificate Enrollment Policy page appears.
Click Browse to select the certificate you created in Create a Microsoft CA Enrollment Agent. The Select a Certificate dialog box appears.
Click OK to select the certificate and close the dialog box. A certificate name appears in the Signing Certificate field.
Click Next. The Request Certificates page appears.
Select your Key Recovery certificate template and click Next. The Select a user page appears.
Enter the User name or alias that you created in step 14.
Alternately, you can click Browse to display the Select User dialog box and search for the user.
Click Enroll and the click Close.
Select Certificates > Current User.
Double-click Personal and then double-click Certificates.
Right-click your user Recovery Key certificate and select All Tasks > Export. The Certificate Export Wizard opens.
Note: You may need to refresh your display to see the certificate. You can identify the certificate by locating the certificate in the Issued to column that matches the user created in step 14.
Click Next. The Export Private Key page appears.
Select Yes, export the private key and click Next.
In the Export File Format page, do the following:
Select Personal Information Exchange - PKCS #12 (PFX).
Select Include all certificates in the certificate path if possible.
Click Next. The Security page appears.
In the Security page, do the following:
Select Password.
Enter and confirm a certificate password.
Click Next. The File to Export page appears.
In the File to Export page, enter a name for your certificate, for example, recover.
Tip: Click Browse to browse to the location where you want to save your certificate, enter a File name and click Save.
Click Next and then click Finish.
Click OK on the Export successful confirmation prompt.
Copy and save this file. You need this file to Configure a Microsoft CA in Identity as a Service.
Perform key recovery
Complete the following procedure to allow Identity as a Service to perform a key recovery.
On the Microsoft CA machine, go to Tools and select Certification Authority.
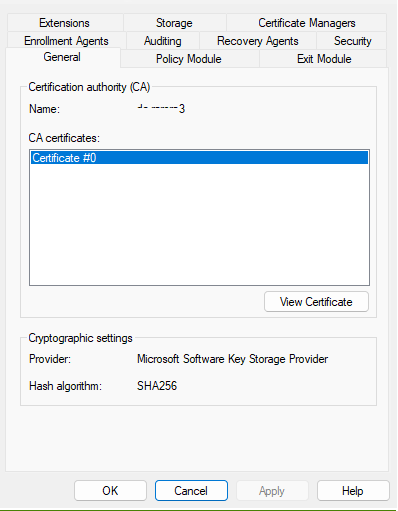
Right-click your certification authority and select Properties. The CA Properties dialog box appears.
Click the Recovery Agents tab and do the following:
Select Archive the key.
Enter the number of recovery agent you are using (typically 1) in the Number of recovery agents to use text box.
Click Add. The Recovery Key Agent Selection dialog box appears.
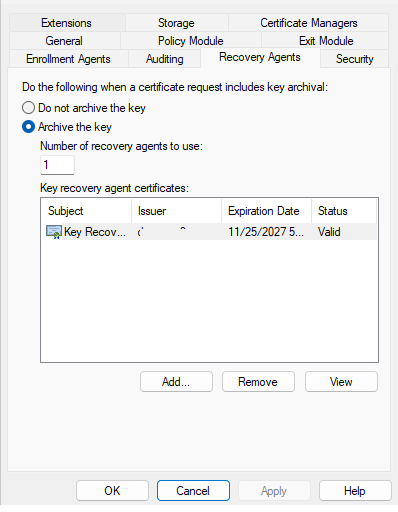
Select the Key Recovery Agent Certificate that you created in the previous steps, then select OK. You are prompted to restart your CA.
Click Apply. The Recovery Agent certificate is added.
Click OK to close the CA Properties dialog box.